

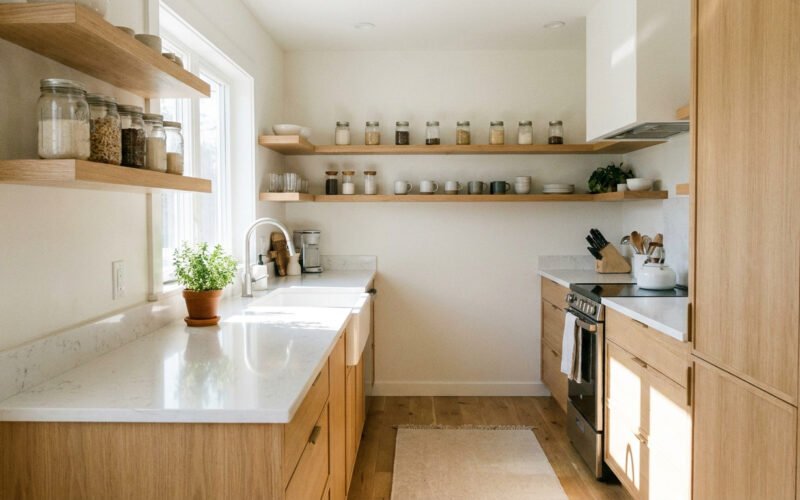
A small kitchen can feel crowded very quickly. Counters fill up with appliances, cabinets overflow with mismatched containers, and drawers stop closing properly. Cooking becomes stressful when you can’t find what you need or have no space to work.
The good news is that you don’t need a bigger kitchen to fix this. You need a clear plan. In this guide, you’ll learn how to declutter a small kitchen step by step, so you can free up space, make cooking easier, and keep the room organized for the long term.
Why Decluttering a Small Kitchen Matters
In a small space, every inch counts. Clutter doesn’t just look messy, it also affects how you use the room. A decluttered kitchen helps you:
- Find ingredients and tools faster
- Create more usable counter space for cooking
- Reduce food waste from forgotten or expired items
- Keep the kitchen cleaner and easier to wipe down
- Feel calmer and more relaxed while cooking
Before You Start: Set Up Your Decluttering Plan
A little preparation makes the whole job faster and less overwhelming.
What you need:
- 3 boxes or bags labeled Keep, Donate, and Toss
- A trash bag
- A damp cloth and an all-purpose cleaner
- A timer (optional, but helpful)
- About 2 to 4 hours, or one section per day if you prefer to go slowly
Tip: Put on some music or a podcast. It makes the work feel lighter.
Step-by-Step: How to Declutter a Small Kitchen
Step 1: Clear the Countertops First
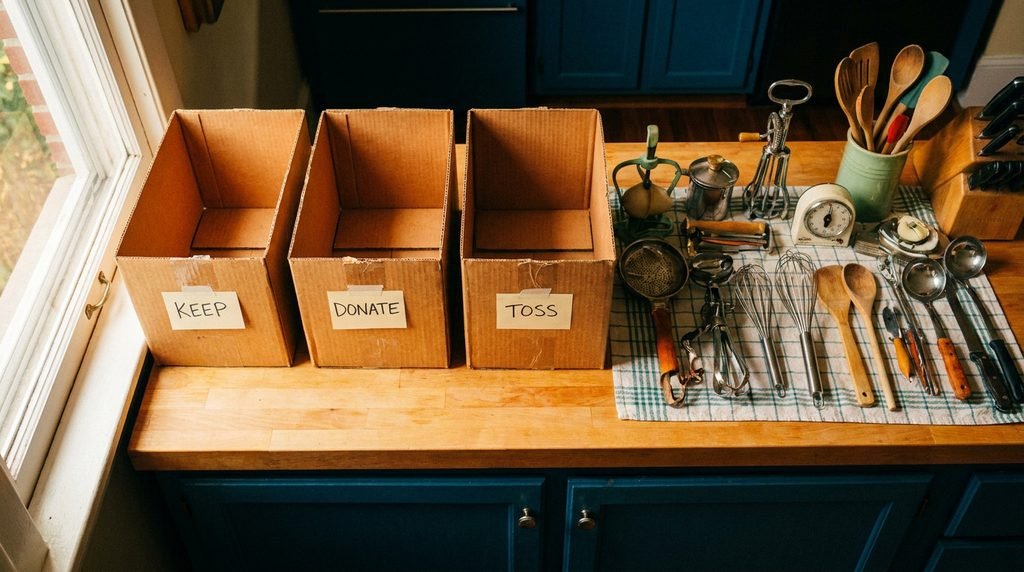
Start with the most visible clutter. Remove everything from your counters and place it on the table or floor. Now put back only the items you use every day, such as a coffee maker, a toaster, or a cutting board.
Everything else needs a new home inside a cabinet, in a pantry, or out of the kitchen completely. A clear counter instantly makes a small kitchen feel larger.
Step 2: Work One Zone at a Time
Trying to declutter the whole kitchen at once leads to a bigger mess. Break the room into small zones:
- Countertops
- Pantry or food cabinets
- Dishes and glassware cabinets
- Pots, pans, and bakeware
- Utensil and gadget drawers
- Refrigerator and freezer
- Under the sink
Finish one zone before moving on to the next.
Step 3: Empty and Sort Each Zone
Take everything out of the cabinet or drawer you are working on. Wipe the shelf clean, then sort each item into one of your three boxes:
- Keep: Items you use often and love
- Donate: Items in good condition that you no longer need
- Toss: Broken, expired, or stained items
Step 4: Ask Simple Questions to Decide
When you aren’t sure about an item, ask yourself:
- Have I used this in the last 6 months?
- Do I own a duplicate of it?
- Is it broken, missing parts, or in poor condition?
- Does it serve more than one purpose?
- Is it worth the space it takes up?
If you answer “no” to the first and “yes” to the second or third, it’s time to let it go.
Step 5: Get Rid of Common Kitchen Clutter
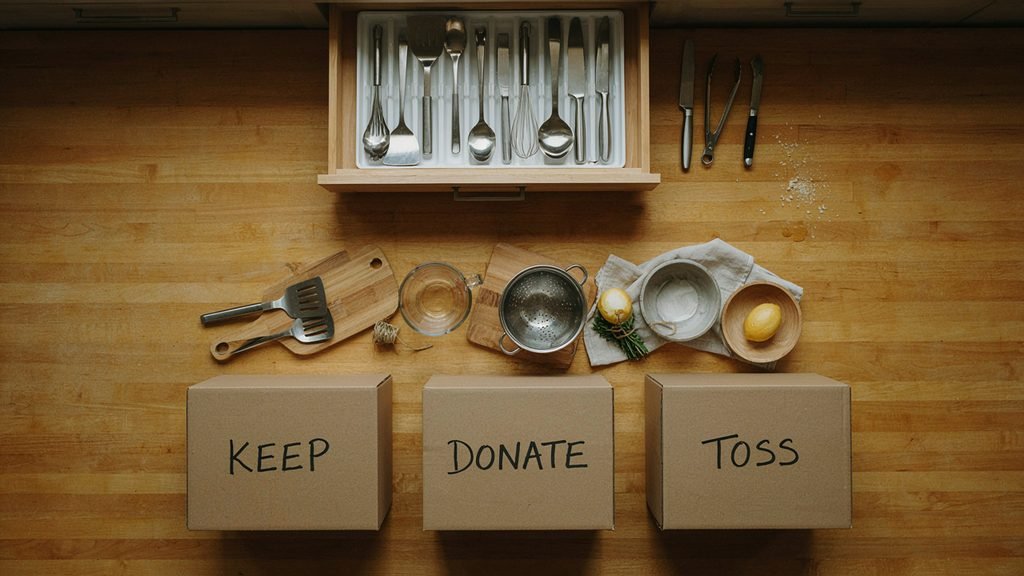
Small kitchens often hide the same kinds of clutter. Look for:
- Duplicate tools: Three spatulas, two can openers, or four peelers
- Mismatched food containers and lids: Keep only the sets that fit together
- Single-use gadgets: Avocado slicers, egg separators, and similar items you rarely use
- Expired pantry items: Old spices, stale snacks, and half-empty packets
- Extra mugs and glasses: Keep what your household actually uses
- Takeout extras: Soy sauce packets, plastic utensils, and menus
- Worn-out cookware: Scratched non-stick pans and warped baking sheets
Step 6: Organize What You Keep
Once you’ve decided what stays, give everything a logical home. Group similar items together, and store things near where you use them:
- Keep pots and pans near the stove
- Store spices close to the cooking area
- Place plates and glasses near the dishwasher or sink
- Keep everyday items at eye level, and rarely used items on high or low shelves
Step 7: Use Vertical and Hidden Space
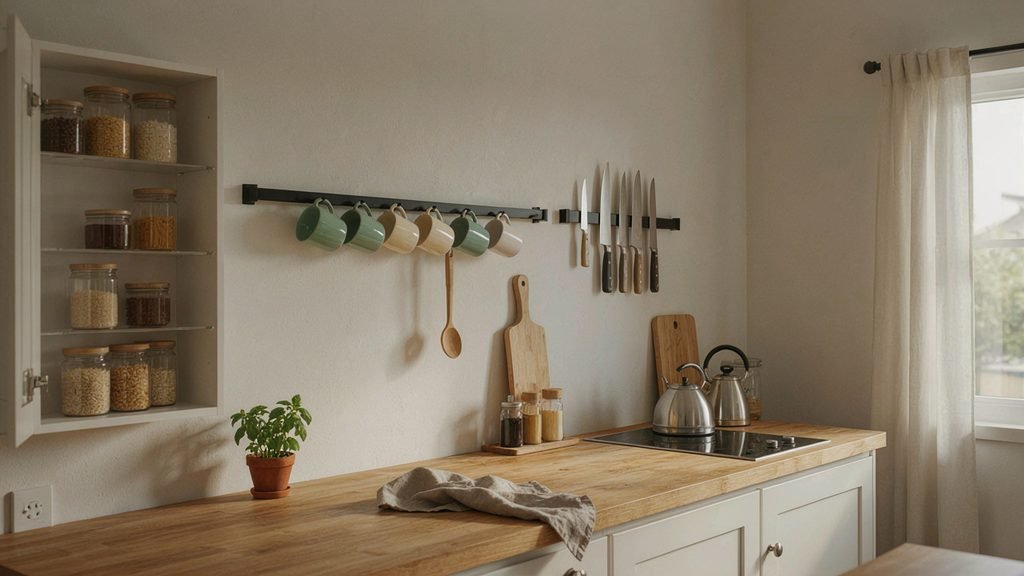
In a small kitchen, the secret is to use space you may not be using yet:
- Wall hooks or a rail for mugs, utensils, or pans
- Over-the-door organizers for foil, wraps, and cleaning supplies
- Stackable shelves inside cabinets to double your storage
- Magnetic strips for knives or metal spice tins
- Slim rolling cart that fits between the fridge and the wall
- Lid organizers to keep pot lids tidy
If you like organizing every corner of your home, our guide on how to organize and maximize garage storage space shares more smart storage ideas you can use.
Step 8: Tidy the Refrigerator and Pantry
The fridge and pantry are often the biggest clutter hotspots:
- Check dates and throw away expired food.
- Group similar items together (dairy, snacks, drinks, baking items).
- Use clear containers so you can see what you have.
- Label containers and shelves.
- Keep older items in front so they get used first.
Step 9: Clean Before You Put Things Back
Since everything is already out, take a few minutes to wipe down shelves, drawers, and the inside of cabinets. Then return only the items you decided to keep.
Step 10: Take Out the Donate and Toss Boxes Right Away
Don’t let the boxes sit in the kitchen for days. Take the trash out, and put the donation box in your car or by the front door so it leaves the house quickly.
Simple Habits to Keep Your Small Kitchen Decluttered
Decluttering once is not enough. These habits help you maintain the result:
- One in, one out: When you buy a new item, remove an old one.
- Spend 5 minutes a day: Wipe counters and put things away each evening.
- Do a monthly check: Quickly scan the pantry and fridge for expired items.
- Avoid bulk buying without space: Only buy what you can store.
- Keep counters mostly clear: Everything should have a home.
- Do a seasonal refresh: Re-check the kitchen every 3 to 4 months.
Common Mistakes to Avoid When Decluttering a Small Kitchen
- Buying storage containers first. Declutter before you buy organizers, or you may buy things you don’t need.
- Keeping items “just in case.” If you haven’t used it in a long time, you probably won’t.
- Skipping the cleaning step. A quick wipe makes the new setup feel fresh.
- Overfilling shelves. Leave a little empty space so things stay easy to reach.
- Doing everything in one day. If you feel tired, pause and continue the next day.
Frequently Asked Questions
How do I start decluttering a small kitchen?
Start with the countertops. Clear everything off, then return only the items you use daily. This gives you instant visible results and motivation to keep going.
How long does it take to declutter a small kitchen?
Most small kitchens take between 2 and 4 hours. If you prefer a slower pace, tackle one zone per day over a week.
What should I get rid of first in the kitchen?
Begin with obvious clutter: expired food, broken items, duplicate tools, and mismatched containers. These are easy decisions and free up space quickly.
How can I make a small kitchen look bigger?
Keep counters clear, use vertical storage, group items in matching containers, and keep a consistent, simple color palette for visible items.
How often should I declutter my kitchen?
A quick tidy once a month and a deeper declutter every 3 to 6 months works well for most households.
Should I buy organizers before or after decluttering?
After. Once you know exactly what you’re keeping, you can buy only the storage items that fit your needs and space.
Final Thoughts
Learning how to declutter a small kitchen is about making smart choices, not owning less for the sake of it. Clear the counters, sort one zone at a time, keep only what you use, and give every item a proper home. With a few simple daily habits, your small kitchen will stay neat, functional, and enjoyable to cook in.
Looking for more ideas to make your home tidier? Browse our Home Organization category for more practical guides.